Table of Contents
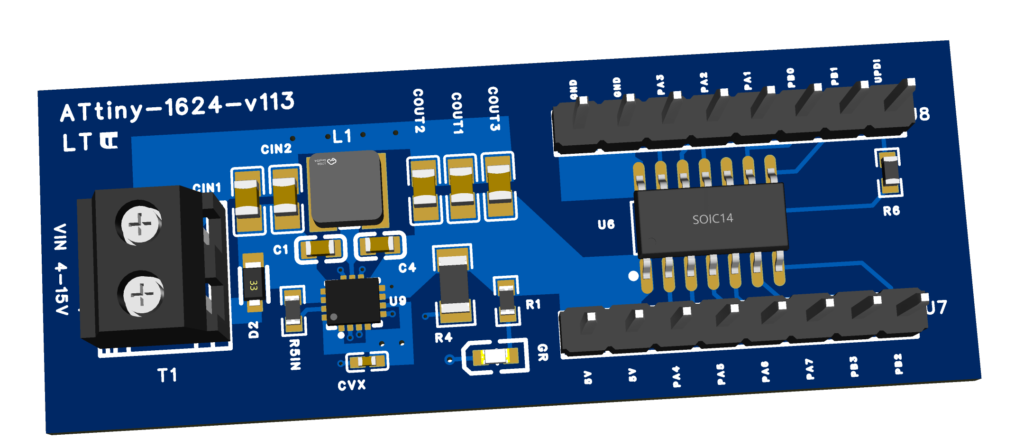
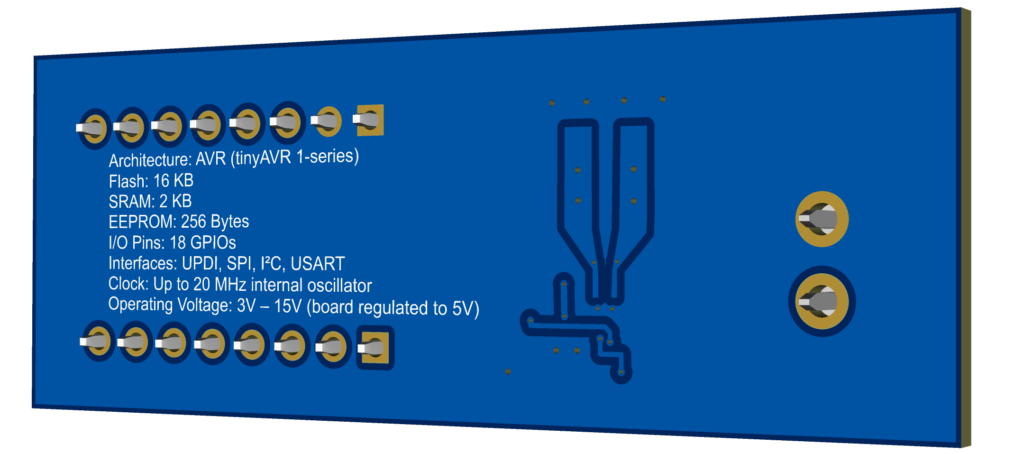
ATtiny 1624 Development Board #
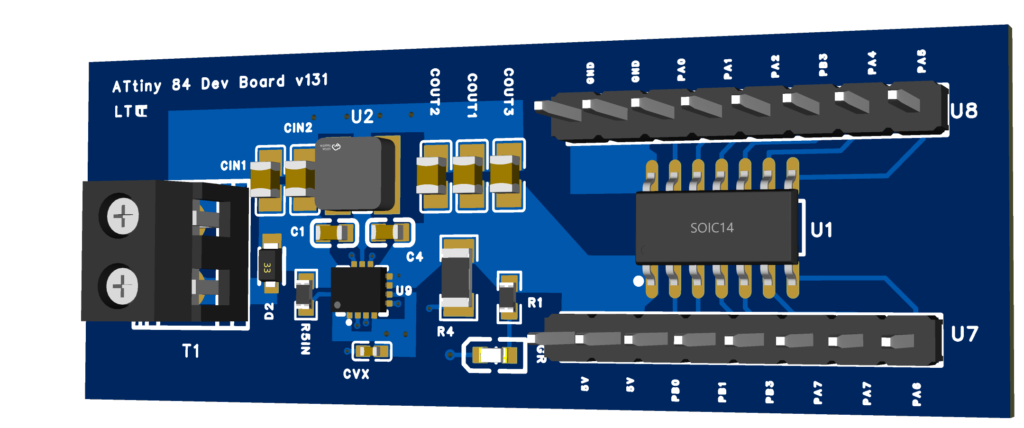
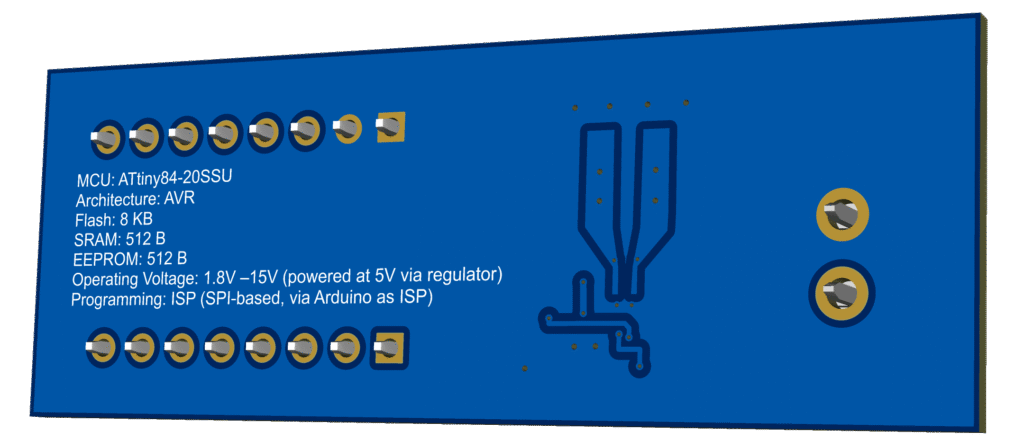
ATtiny 84 Development Board #
ATtiny 1624 Board Overview #
This custom dev board is built around the ATtiny1624 microcontroller. It includes onboard power regulation and is UPDI-programmable via an Arduino Nano or similar.
Key Specs #
Microcontroller: ATtiny1624 #
- Architecture: AVR (tinyAVR 1-series)
- Flash: 16 KB
- SRAM: 2 KB
- EEPROM: 256 Bytes
- I/O Pins: 18 GPIOs
- Interfaces: UPDI, SPI, I²C, USART
- Clock: Up to 20 MHz internal oscillator
- Operating Voltage: 1.8V – 5.5V (board regulated to 5V)
Power Supply #
- Input Voltage (VIN): 3V to 15V via terminal block labeled
VIN 4–15V - Regulator IC:
- Buck-boost converter
- Regulates input to stable 5V
- Protection Diode: for reverse polarity protection
Programming Interface: UPDI #
- Pin PA0 on ATtiny1624 serves as the UPDI programming pin.
Programming with Arduino Nano (as UPDI programmer) #
You can use an Arduino Nano to program the ATtiny1624 via UPDI using the following method:
Required: #
- Arduino Nano
- PyUPDI script or megaTinyCore in Arduino IDE
Wiring #
| Nano Pin | ATtiny1624 Board Pin | Notes |
|---|---|---|
| D6 | PA0 (UPDI) | Via 4.7kΩ resistor (on Board) |
| GND | GND | Common ground |
| 5V | VDD (5V rail) | Optional (if not powered) |
Programming Steps #
- Install megaTinyCore in Arduino IDE.
- Select:
- Board: ATtiny1624/1626/1627
- Programmer: jtag2updi (megaTinyCore)
- Burn bootloader (to set fuses).
- Upload sketches via UPDI.
I/O Headers #
There are two 8-pin headers:
U8 (top side): PA0–PA3, PB0–PB1, PA0 doubles as UPDI
U7 (bottom side): PA4–PA7, PB2–PB3, and power pins (5V, GND)
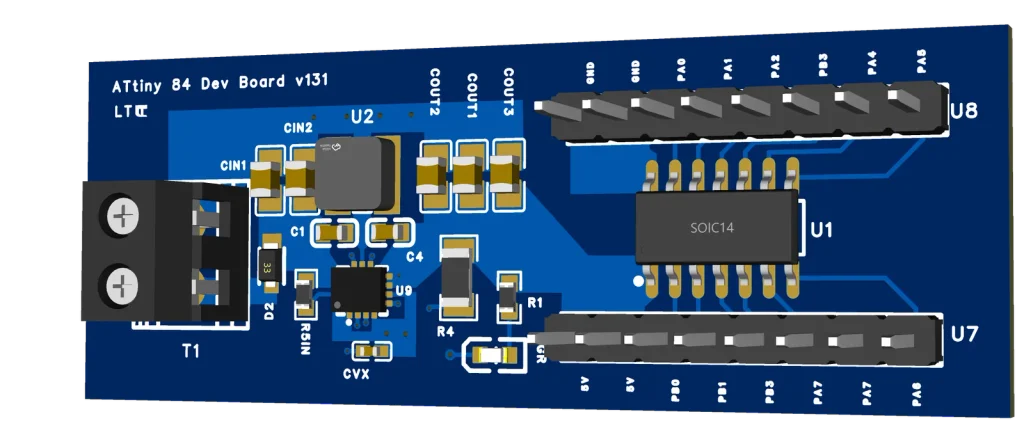
ATtiny84 Dev Board (GTMSM V0.1) – Specs & Programming Guide #
1. Power Supply #
- VIN input range: 3V to 15V (recommended)
- Recommended VIN for operation: 3V or higher
- Regulated output: 5V (via onboard buck-boost converter)
- Minimum reliable VIN (with diode drop): ~2.8V
- Reverse voltage protection: Schottky diode (PD3S140-7) on VIN input
- Important: Never power the board from more than one source at a time (e.g. VIN and USB simultaneously)
2. Microcontroller #
- Chip: ATtiny84-20SSU
- Architecture: AVR
- Flash memory: 8 KB
- SRAM: 512 bytes
- EEPROM: 512 bytes
- Operating voltage: 1.8V – 5.5V
- Clock: Internal up to 8 MHz (configurable via fuses)
3. I/O & Pinout #
- Two 8-pin headers:
- One header: PA0 to PA5, GND
- Other header: PB0 to PB3, PA6, PA7, 5V, GND
- Standard GPIO, ADC, SPI, I²C, UART functionality via these pins
4. Programming (Using Arduino Nano as ISP) #
Requirements: #
- Arduino Nano
- Jumper wires
- Arduino IDE with ATtinyCore installed
Wiring: Arduino Nano → ATtiny84 #
| Arduino Nano | ATtiny84 Pin | Function |
|---|---|---|
| D13 | PA4 | SCK |
| D12 | PA5 | MISO |
| D11 | PA6 | MOSI |
| D10 | PA3 | RESET |
| 5V | VCC | Power |
| GND | GND | Ground |
5. Programming Steps #
- Flash the Arduino Nano with the “ArduinoISP” sketch
- In Arduino IDE:
- Board: ATtiny84 (No bootloader / ATtinyCore)
- Programmer: Arduino as ISP
- Clock: 8 MHz internal (or your choice)
- Click “Burn Bootloader” to set fuses
- Use “Upload Using Programmer” to flash your sketch